
A dull blade does more damage than most men realize. It pulls the hair instead of cutting it, it drags across the skin and it leaves a finish that looks ragged by midday. Many shavers and trimmers lose most of their performance long before they fail, and the cause is almost always a lack of routine cleaning and blade replacement. A little regular care keeps the cut clean and the skin calmer.
This guide explains a simple cleaning routine for electric razors and trimmers, how to dry and oil the parts that need it, how to recognize a worn blade or foil and what to do when a tool stops performing. It follows the general principles that apply to most models. The manufacturer’s manual takes priority, since some tools must not be submerged, and some need specific oil or cleaning fluid.
Read this if you clean your shaver or trimmer only when it stops working. You can skip it if you already follow a weekly cleaning routine and replace heads on schedule.
Why cleaning matters
Hair, skin oil, shaving gel and moisture collect inside the head and the blade assembly. Over time this residue thickens, dulls the cutters and can cause corrosion. A dirty blade also works harder, which drains the battery faster and can make the motor run hot. Regular cleaning keeps the tool running as it was designed to.
Cleaning also reduces the risk of skin irritation. A blade contaminated with old residue can drag and snag, and a tool that is not dried can encourage the growth of bacteria. If you notice persistent redness or bumps, change the tool and the routine, and see a physician or dermatologist if the problem continues.

A routine for an electric razor
Follow this order after each shave, unless the manual says otherwise.
- Switch off and unplug or remove the battery if the manual says the tool should be cleaned that way.
- Remove the head or the foil frame if the design allows it.
- Tap out loose hair over a bin or a towel.
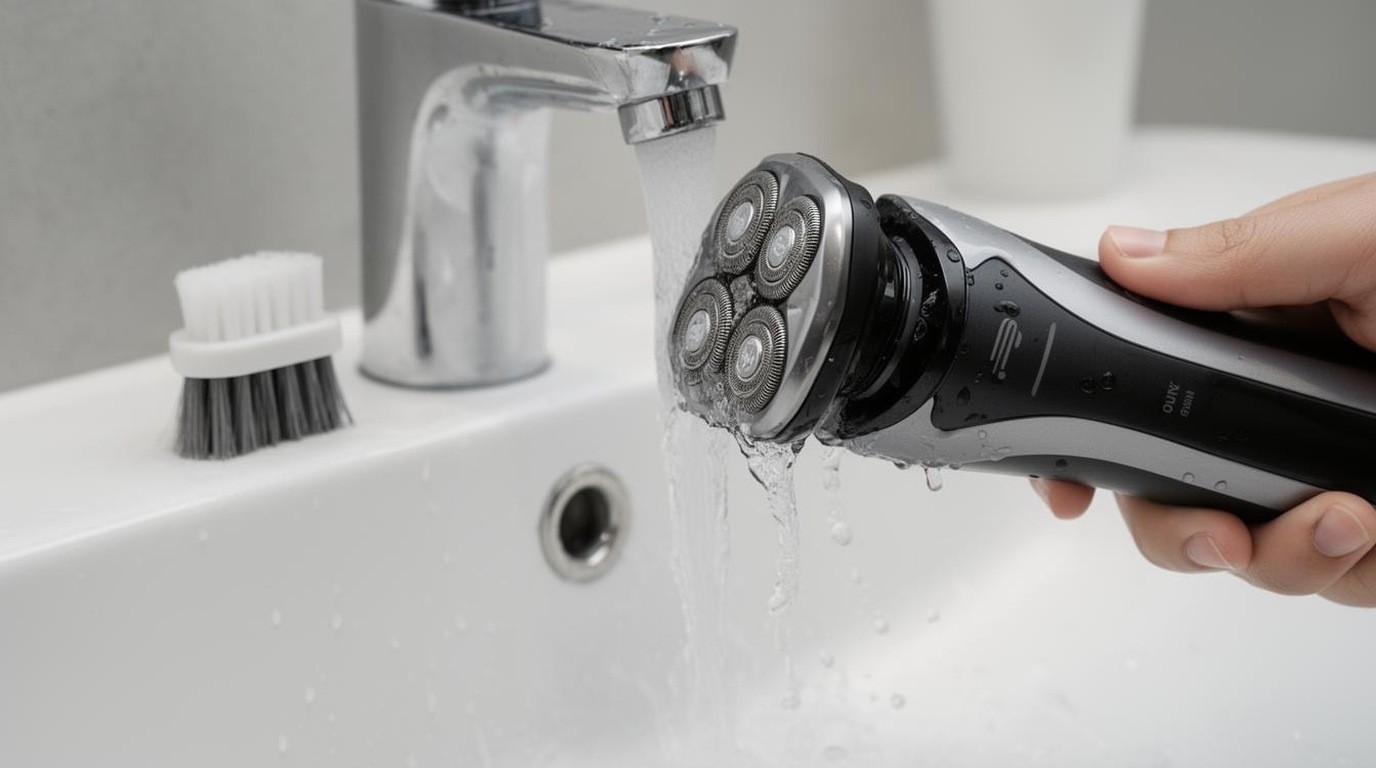
- Rinse the head under warm running water if the manual says it is water-safe. Use only water, or mild soap if the manual permits.
- Brush out residue from the cutters and the underside of the foil with the supplied brush.
- Dry the parts completely with a clean towel and leave them to air dry before reassembly.
- Apply a drop of cleaning oil to the cutters only if the manual recommends it.
Do not use abrasive cleaners, solvents or sharp tools to clean the blades. They can damage the cutting edge and the foil.
A routine for a trimmer
Trimmers collect hair in the blade housing and in the comb attachments. After each use, remove the combs and tap out loose hair. Brush the blades and the housing with the supplied brush. Some trimmers can be rinsed, but many cannot, so check the manual before using water. Dry all parts before putting the combs back on, and store the trimmer in a dry place.
Oil the blades only when the manual recommends it. A few drops of the supplied oil, run for a few seconds, can keep the cutters moving smoothly. Too much oil can attract hair and cause a sticky build-up.
Signs the blade is worn
Several signs suggest the blade or foil needs replacing.
- Pulling or tugging during a shave or trim, even with a clean tool.
- Patchy results where some hairs are left behind.
- Increased redness or a feeling of drag on the skin.
- Noise or vibration that was not there before.
- Battery draining faster than it used to.
- Visible wear on the foil or the cutters.
Check the replacement schedule in the manual, since many makers recommend a blade or foil change every year or so, depending on use. Replacing the parts when they wear keeps the tool performing as it was designed to.
Storage and care
Store the tool in a dry place, away from direct sun and heat. Keep the cap or case on to protect the blade. Do not leave a damp tool in a closed case, since moisture can cause corrosion. If the tool has a charging base, keep the contacts clean and dry.
When to replace the whole tool
Sometimes cleaning and new blades are not enough. Consider replacing the tool if the motor is weak, the battery no longer holds a charge, the body is cracked or the warranty period has ended and repairs are costly. Check whether the manufacturer offers a repair or a replacement program before you buy a new tool.
Cleaning products and safety
Use only the cleaning products recommended in the manual. Some products can damage plastics, seals or the cutting edge. Keep cleaning products out of the reach of children and pets, and rinse and dry the tool after using any product that the manual allows. We do not claim any product is safe for skin or hair. If you have a reaction to a product, stop using it and speak to a physician or dermatologist.
A weekly deep clean
Once a week, give the tool a more thorough service. Remove the head or foil frame as the manual allows, and check the cutters for hair caught in the gaps. Use the brush on the inner areas, and look at the seals and rubber gaskets for cracks or stiffness. Let every part dry completely before reassembly. A weekly routine takes only a few minutes and prevents the build-up that causes most drag and noise.
Common cleaning mistakes
Several habits shorten the life of a shaver or trimmer. Blowing into the head can push moisture and hair deeper into the mechanism. Pressing hard with a brush can bend the cutters. Storing the tool in a damp cabinet encourages corrosion, and an unapproved oil can gum up the moving parts. If you are unsure which product to use, the manual is the reliable guide, and the maker’s support line can answer a specific question quickly.
The short version
Clean the head or blade after every use, dry it fully, oil it only when the manual says so and replace the blades on schedule. A sharp, clean blade cuts more smoothly, pulls less and lasts longer. If irritation continues after a fresh blade and a clean routine, see a physician or dermatologist rather than changing products at random.
A simple routine
- After each use, remove and rinse the head if the manual allows it.
- Once a week, brush out the cutters and check the seals.
- Replace the blades or foils on the schedule the maker recommends.